This concept of a DIY camping washing station is inspired by a variety of widely viable DIY camp sinks.
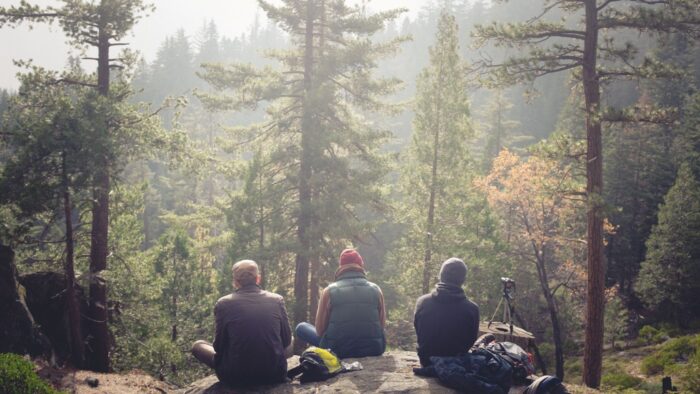
Let’s face it: when we’re camping, sanitation, cleanliness, and food safety are still vital.
In the end, this project might be used for a variety of entertaining or important purposes:
– going camping
– makeshift aid stations
– facilities that do not have running water
– work locations that are just temporary
This Instructable offers my take on the concept, as well as a few changes to enhance transportation, sanitation, and construction costs.
How it Works – The user’s foot activates a manual pedal that flows clean water from the bottom container. The clean water rushes into a powder room after being pumped through a faucet. The used water drains into the top bucket through the basin. In only a few minutes, all of the components may be assembled or disassembled. The device is also self-contained and can be carried in two buckets that are nested together.
Step 1: Gather Parts
(2) 5-gallon buckets (preferably at least one that’s new or clean)
(1) Bulb siphon (might also be called a “primer bulb”)
(2) vinyl hose (3/8″ ID x 32″ – or appropriate for your bulb siphon)
(1) Gamma Seal lid
(1) Flat, non-sealing bucket lid
(1) 7 quart popcorn bowl (any bowl with a 7″-12″ diameter will work)
(2) 1/2″ PVC pipe (11″ & 11.5″)
(1) 1/2″ PVC elbow 90 (FPT x slip)
(1) elbow 90 3/8″ barb x 1/2″ MPT
(1) adapter 3/8″ barb x 1/2″ MPT
(1) 1/2″ PVC trap (slip x slip)
(1) Quick-grip clamp
(2) zip ties (6″ or longer)
Step 2: Prep Clean Water Bucket

Dig a solitary 3/4″ hole towards the neck of the container, near the grip attachment and above the bottom brace. The spike must be placed above the bottom help in order for the containers to nest during shipment.
In the interior of the bucket, twist on the bend after inserting the hosting needle. Leave it upright for 10-15 degrees so the suction tube may rest on the bucket’s bottom with a tiny space for saturation pressure.
Step 3: Prep the Sink and Gray Water Bucket
Make a few openings in the bowl’s bottom and it definitely makes sense as you will have to keep a way out to drain the water into the grayish bucket of water. I made little holes with a 3/16″ bit that serve as strainers. So the size of the buckets should be appropriate and should work for your unique setup. You need to keep this element in your mind while creating the small holes.
Cut a hole in the center of the flat bucket top to hold the bowl in the gray water bucket.
There are no adjustments or assembly required for the gray water bucket.
Step 4: Faucet & Setup System
Isolate the equipment and place it in a transportable container. The parts will fit into the clean water bucket, which will then nest within the gray water bucket. This method is the most compact, and it also keeps the interior of the clean water bucket clean.
Everything may be stuffed into the clean water bucket in a few different ways. In order to fit, the basin and the flat lid will flex somewhat. Because those components are constructed of flexible plastic, when you pull them out to use them again, they will return to their original shape.
If you’re preparing your system for long-term storage, I suggest washing and sterilizing it.
Get your DIY Camping Washing Station Ready!
Place the dirty water bucket on the floor when you need to re-fill the clean water bucket.
Remove the pump suction hose from the clean water bucket’s barb. By tying the hose to the faucet, you can keep it clean. Return to the water source with the clean water pail and refill it. Return to the sink’s original location and reassemble it.