Installing solar panels for your camping vacations is a cost-effective and ecologically beneficial method to keep your electronics charged when you’re away from the grid. For that, you should have some basic knowledge of the DIY solar setup for camping.
However, with so many various types, brands, and accessories to pick from, finding a cheap camping solar system that truly works may be difficult. A camper solar system might cost hundreds or thousands of dollars.
That’s why we’ve put together this simple tutorial to help you install your own solar system for your camping vacations for only $140. Only a few moments in the sun are required to compensate four people’s phones, lights, and loudspeakers for the entire day.
4 Steps to Creating a DIY Solar Setup For Camping
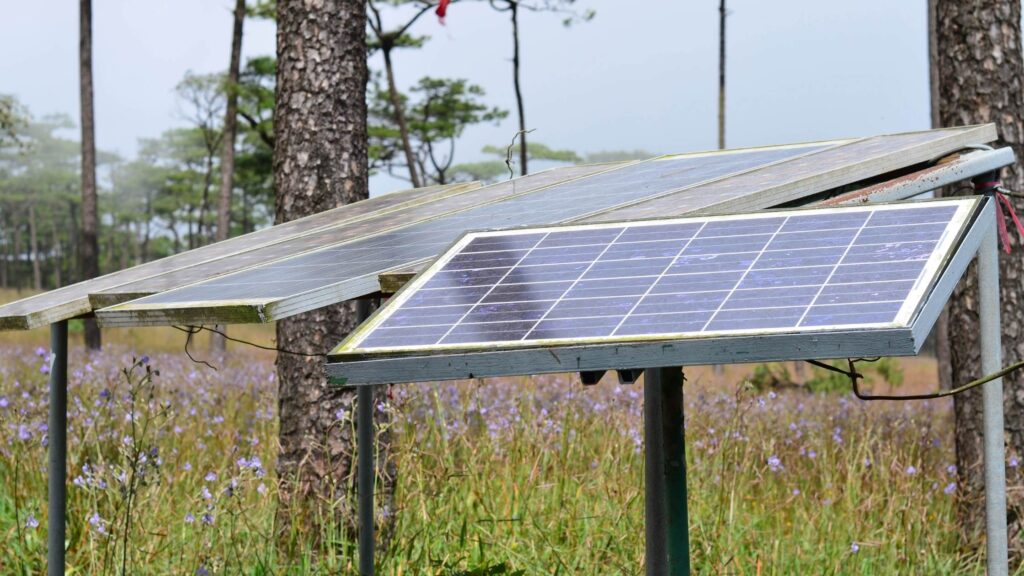
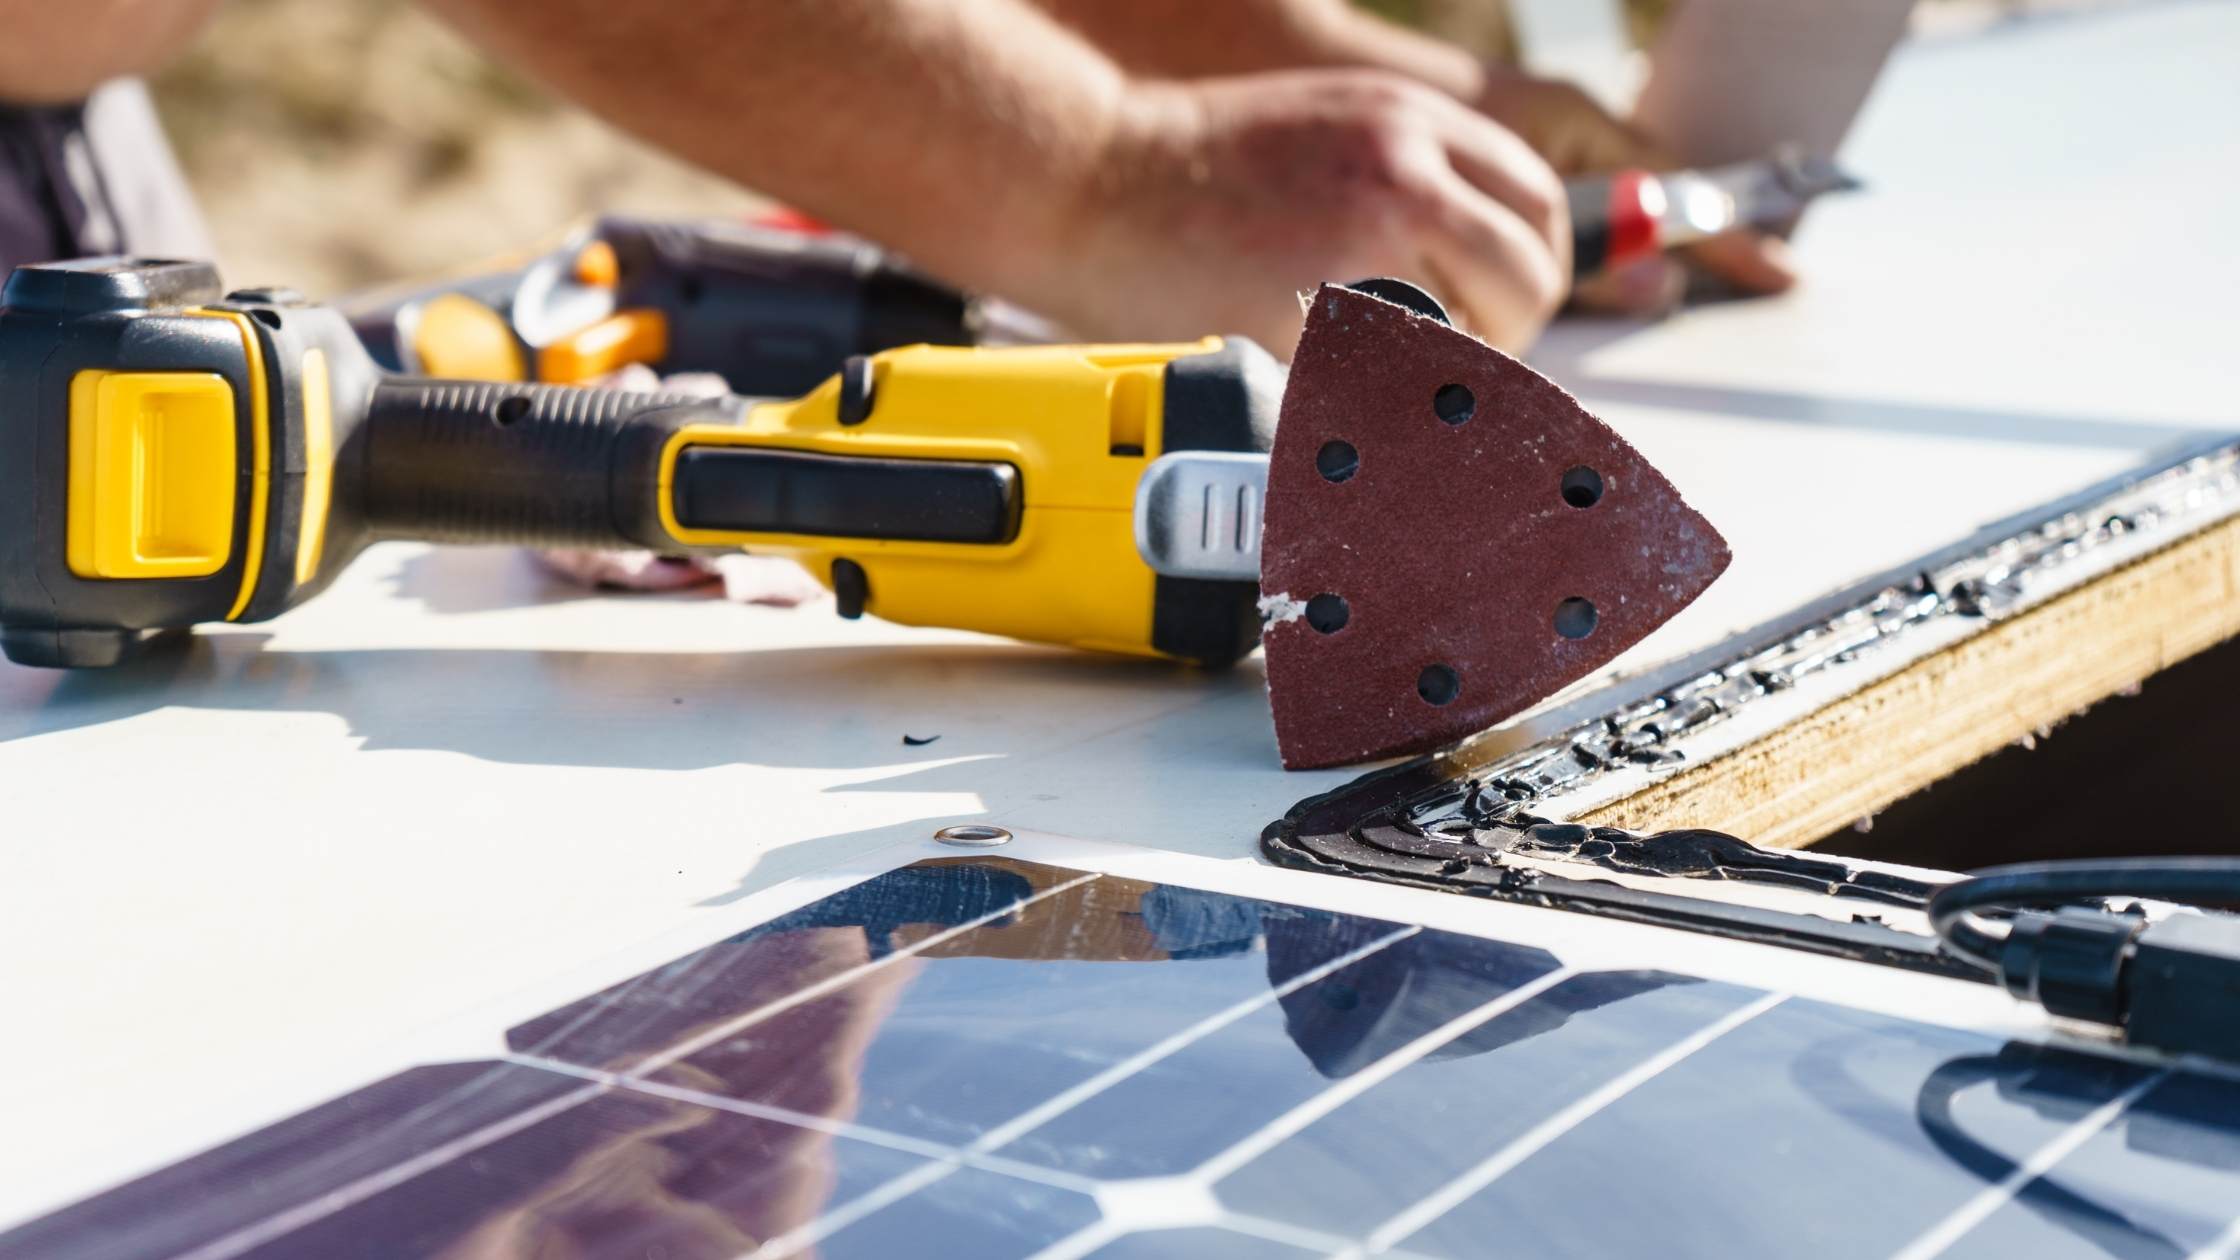
1. Locate a used panel.
First, let’s discuss the panel. You may believe that the most costly component of this solar system is the panel, but you’d be mistaken. You can get free used panels from a solar electric contractor.
We used a solar panel from one of our customers’ houses in our DIY solar guide because we needed to create a place for fresher, more effective technology. The panel will be enough for a solar system in a campground or motorhome, and you will not have to upgrade to a new solar module.
2. Locate a low-cost solar battery
The battery or charging setup is the next component of your camping solar setup. Ben got his battery out of his old 444 for nothing and spent $100 on a battery pack.
A safety system is integrated into his battery pack. There’s also a USB port and a 12-volt outlet.
Is it necessary to purchase a battery box?
You don’t want one of these units if you merely would like to recharge the batteries in your vehicle, watercraft, or trailer. However, we recommend that you purchase a fuse.
3. Choose a charger that is compatible with your panel and battery
The final step is to choose a charger that is compatible with both your solar panel and your batteries.
How do you connect the solar array to the charging cable?
The maximum PV open circuit voltage input for this charger is 50V. This is the highest voltage that this charger can accept from a solar panel. Because our secondhand solar panel is 43.6V, it works.
What’s the best way to fit the adapter to the power supply?
You should also make sure that the charger you’re using is compatible with your battery’s chemistry. The charger we choose dynamically decides between inundated, buffered, and hermetic chemical engineering types.
Summary
There are four stages to making your own solar camping setup at home.
So here are the essential stages to converting sunshine into energy in the vast outdoors for less than $150:
- Obtain a used panel from a nearby installer. Determine the Open Circuit Voltage and record it.
2. Get yourself a battery. Make a note of the voltage and chemical type of the battery.
3. Find a charger that works with your solar panel and battery. Alternatively, go online and look at the datasheet.
4. Prepare for the vast outdoors by purchasing a battery box with outlets.